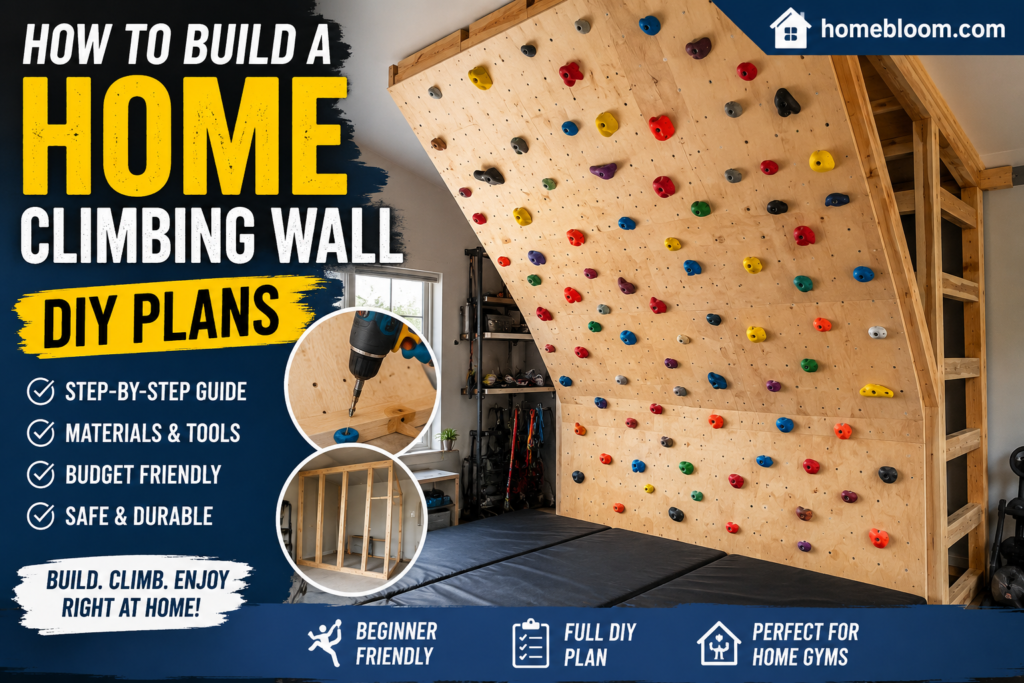
Learn how to build a home climbing wall with easy DIY plans. Discover the best materials, tools, costs, safety tips, and expert advice to create a durable indoor climbing wall.
How to Build a Home Climbing Wall DIY Plans: A Complete Beginner’s Guide
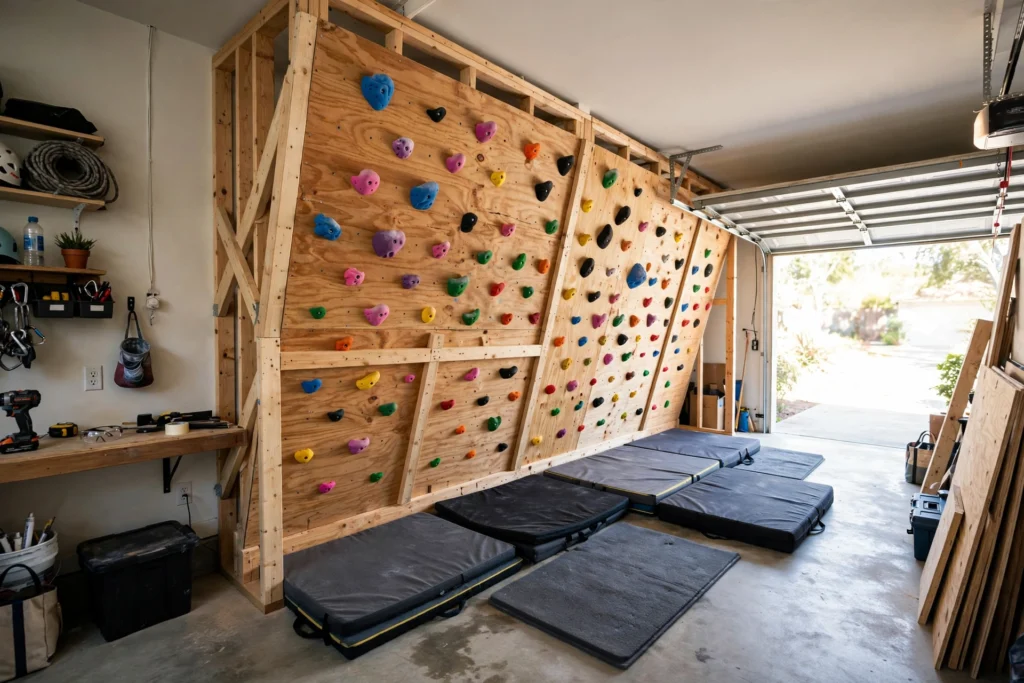
Building a home climbing wall is one of the best DIY projects for anyone who loves fitness, rock climbing, or creating fun spaces at home. Whether you’re a beginner looking for a simple practice wall or an experienced climber wanting a more challenging setup, a DIY climbing wall allows you to customize every detail to fit your goals and available space.
Unlike expensive climbing gym memberships, a home climbing wall offers unlimited practice whenever you want. It also becomes an exciting feature for children, teenagers, and adults who enjoy active hobbies. The best part is that you don’t need to be a professional carpenter to build one. With the right planning, quality materials, and proper safety precautions, you can create a strong, durable climbing wall that lasts for years.
This guide walks you through everything you need to know before construction begins—from choosing the ideal location to selecting the right materials and designing your wall for maximum performance and safety.
Why Build a DIY Home Climbing Wall?
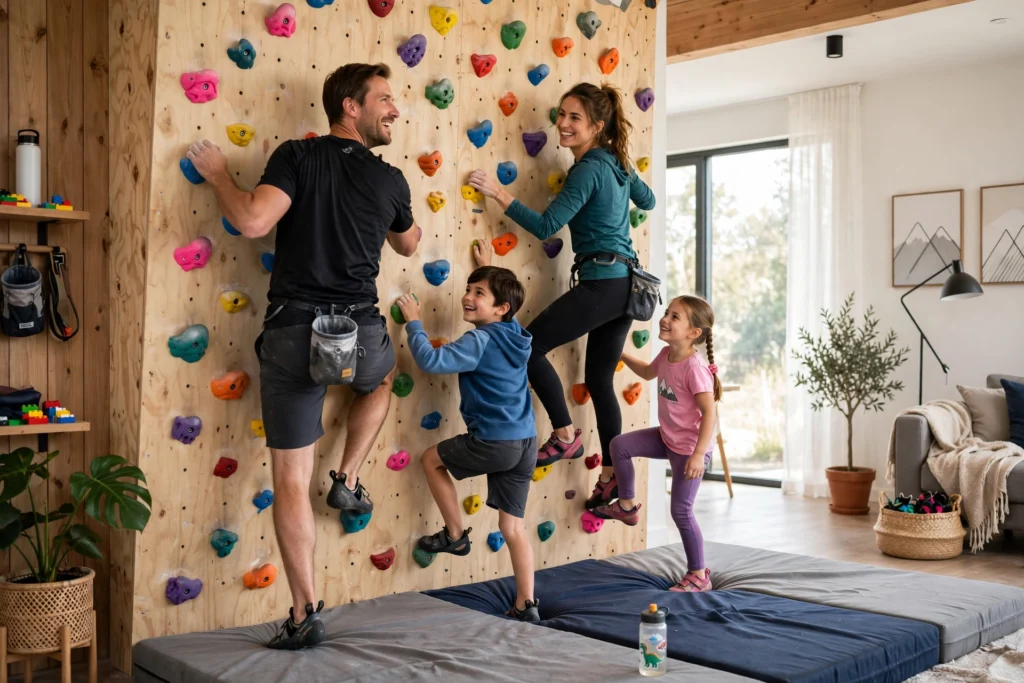
A home climbing wall offers much more than entertainment. It provides a convenient way to improve physical fitness, develop climbing skills, and enjoy a healthy activity without leaving your home.
Practice Anytime
One of the biggest advantages is unlimited access. Instead of driving to a climbing gym and paying monthly membership fees, you can train whenever your schedule allows. Even a short 20-minute climbing session helps improve endurance and technique.
Improve Full-Body Strength
Rock climbing is a complete body workout. Every climbing session strengthens your:
- Arms
- Shoulders
- Chest
- Core muscles
- Legs
- Grip strength
- Finger endurance
Unlike traditional weightlifting, climbing develops functional strength that translates into everyday activities.
Better Balance and Coordination
Every movement on a climbing wall requires planning and body control. Over time, climbers naturally improve:
- Balance
- Coordination
- Flexibility
- Body awareness
- Problem-solving skills
These benefits are valuable for both children and adults.
Family-Friendly Activity
A climbing wall can become one of the most popular features in your home. Children enjoy climbing for fun, while adults use it for exercise and skill development.
By installing holds at different difficulty levels, every family member can participate safely.
Save Money Over Time
Although the initial investment may seem significant, building your own wall is often cheaper than paying years of climbing gym membership fees.
Most DIY climbing walls cost significantly less than commercial installations while offering similar functionality.
Planning Your Home Climbing Wall
Proper planning determines whether your project will be safe, durable, and enjoyable. Before purchasing materials, spend time evaluating your available space and climbing goals.
Choose the Best Location
Several locations work well for DIY climbing walls.
Popular choices include:
- Garage
- Basement
- Spare room
- Home gym
- Outdoor backyard wall
- Barn
- Workshop
Indoor walls generally require less maintenance because they remain protected from weather conditions.
Outdoor climbing walls should use weather-resistant materials to prevent damage from rain, moisture, and sunlight.
Ceiling Height Matters
Your available ceiling height directly affects the climbing experience.
General recommendations include:
- 8 feet for children’s climbing walls
- 10 feet for beginner adults
- 12–16 feet for more advanced climbing
- Higher walls for experienced climbers with proper safety equipment
Even shorter walls can provide excellent training opportunities by increasing the wall angle.
Determine Wall Angle
The angle changes the climbing difficulty dramatically.
Vertical Wall (90°)
A vertical wall is perfect for beginners.
Benefits include:
- Easier climbing
- Lower arm fatigue
- Great technique practice
- Simple construction
Slight Overhang (10°–20°)
Intermediate climbers often choose a slight overhang because it provides a more realistic climbing experience.
Advantages include:
- Increased difficulty
- Better strength development
- Improved endurance
- More engaging routes
Steep Overhang (30°–45°)
Advanced climbers prefer steep overhangs that demand powerful movements and exceptional grip strength.
These walls require stronger framing and advanced construction techniques.
Materials You’ll Need
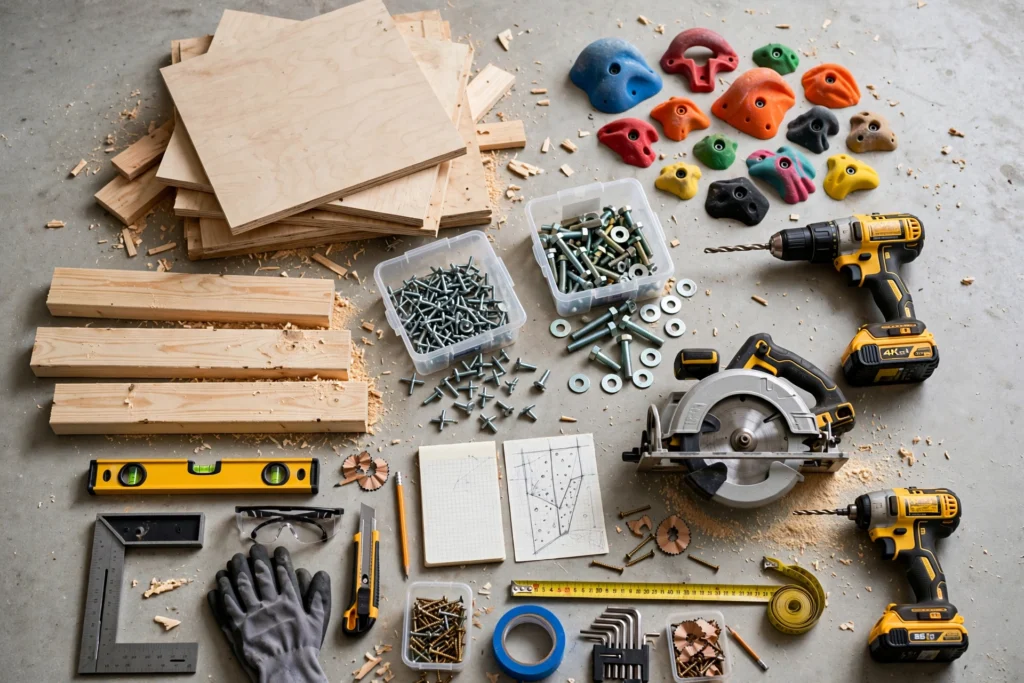
Choosing high-quality materials ensures your climbing wall remains strong and safe for years.
Essential materials include:
- ¾-inch cabinet-grade plywood
- Pressure-treated 2×4 lumber
- Structural wood screws
- T-nuts
- Climbing bolt hardware
- Climbing holds
- Washers
- Construction adhesive (optional)
- Sandpaper
- Primer
- Durable paint or textured climbing wall paint
Avoid low-quality plywood, as it may crack under repeated climbing loads.
Marine-grade or cabinet-grade plywood provides superior durability.
Recommended Tools
Prepare these tools before beginning construction:
- Power drill
- Circular saw
- Impact driver
- Measuring tape
- Carpenter’s level
- Stud finder
- Socket wrench
- Hammer
- Safety glasses
- Work gloves
- Pencil
- Ladder
Having every tool ready before starting helps the project move smoothly and reduces unnecessary delays.
Estimate Your Budget Before You Start
Understanding the expected cost helps you plan your project without surprises.
Typical expenses include:
| Item | Estimated Cost (USD) |
|---|---|
| Plywood | $60–$150 |
| Lumber | $80–$200 |
| Climbing Holds | $100–$400 |
| Hardware | $50–$120 |
| Crash Pads | $150–$500 |
| Paint & Finishing | $40–$100 |
Overall, most homeowners spend between $500 and $1,500, depending on the wall size, climbing hold quality, and safety equipment selected.
A well-planned investment results in a durable climbing wall that can provide years of training and enjoyment.
Step-by-Step Guide to Build a Home Climbing Wall
Now that you’ve planned your project and gathered the necessary materials, it’s time to build your DIY home climbing wall. Follow these steps carefully to ensure the wall is strong, safe, and built to last.
Step 1: Build the Wooden Frame
The frame is the foundation of your climbing wall. It must be sturdy enough to support both the plywood panels and the climber’s weight.
Use pressure-treated 2×4 lumber to construct a rectangular frame. Install vertical studs every 16 inches on center to distribute weight evenly. If you’re attaching the wall directly to existing wall studs, make sure every connection is securely fastened with structural screws.
Double-check that the frame is level before moving to the next step.
Step 2: Drill Holes for T-Nuts
Before installing the plywood, mark a grid pattern on each sheet.
A spacing of approximately 8 inches both horizontally and vertically provides plenty of options for changing climbing routes later.
Drill holes using the correct drill bit size for your T-nuts.
The more holes you install now, the more flexibility you’ll have when rearranging climbing holds in the future.
Step 3: Install the T-Nuts
Turn each plywood sheet over and carefully hammer the T-nuts into the drilled holes.
Ensure every T-nut sits flush against the wood.
Loose or improperly installed T-nuts can spin or pull out over time, making hold installation difficult.
Take your time during this step because fixing mistakes later is much harder.
Step 4: Attach the Plywood Panels
Lift each plywood sheet into place and secure it to the wooden frame using heavy-duty wood screws.
Space screws evenly around the perimeter and across the center where the studs are located.
There should be no movement or flexing once the panels are installed.
Inspect each panel before continuing.
Step 5: Paint the Climbing Wall
Although painting is optional, it improves durability and gives your wall a finished appearance.
Use high-quality interior paint or textured climbing wall paint.
Many DIY builders choose neutral colors like gray, black, or white because colorful climbing holds stand out better against these backgrounds.
Allow the paint to dry completely before installing climbing holds.
Step 6: Install Climbing Holds
Arrange climbing holds across the wall using bolts that thread into the installed T-nuts.
Avoid placing holds too close together.
Instead, create routes of varying difficulty by mixing:
- Large jugs
- Pinches
- Slopers
- Crimps
- Edge holds
Changing hold positions every few weeks creates new climbing challenges without rebuilding the wall.
Step 7: Add Safety Flooring
Never climb on a hard surface.
Install thick crash pads or high-density gym mats beneath the climbing wall.
Proper flooring significantly reduces injury risk from accidental falls.
For children, extending padding beyond the climbing area is highly recommended.
Important Safety Tips
Safety should always be your highest priority when building and using a home climbing wall.
Follow these recommendations:
Inspect the Wall Regularly
Check for:
- Loose climbing holds
- Damaged plywood
- Loose screws
- Cracked lumber
- Worn hardware
Perform a quick inspection before every climbing session.
Use Quality Hardware
Never substitute climbing bolts with standard hardware store bolts that aren’t designed for climbing applications.
Investing in high-quality climbing hardware improves both safety and durability.
Keep Children Supervised
Children should always climb under adult supervision.
Teach proper climbing techniques and discourage jumping from the top of the wall.
Don’t Climb Alone
If you’re attempting difficult routes, having another person nearby adds an extra layer of safety in case of an accident.
How Much Does a DIY Home Climbing Wall Cost?
The total cost depends on wall size, materials, and the quality of climbing holds you purchase.
Small Beginner Wall
- Estimated Cost: $400–$700
Ideal for children and beginners.
Medium Home Training Wall
- Estimated Cost: $700–$1,200
Provides enough climbing space for regular workouts.
Large Advanced Climbing Wall
- Estimated Cost: $1,200–$2,500+
Suitable for experienced climbers looking for advanced training at home.
Although the initial investment may seem significant, many homeowners save money over time by reducing or eliminating climbing gym membership fees.
Maintaining Your Home Climbing Wall
Routine maintenance keeps your wall safe and extends its lifespan.
Tighten Climbing Holds
Over time, climbing holds can loosen due to repeated use.
Inspect and tighten them every few weeks.
Clean the Holds
Dust, chalk, and skin oils reduce grip.
Wash climbing holds periodically with warm water and mild soap.
Allow them to dry completely before reinstalling.
Inspect the Frame
At least twice a year, inspect the wooden frame for:
- Cracks
- Warping
- Moisture damage
- Loose fasteners
Repair any issues immediately before climbing again.
Rotate Routes Regularly
One of the biggest advantages of using T-nuts is the ability to redesign climbing routes whenever you like.
Changing hold positions keeps workouts interesting and helps develop new climbing skills
Common Mistakes to Avoid When Building a Home Climbing Wall
Even experienced DIY enthusiasts can make mistakes during construction. Avoiding these common errors will help ensure your climbing wall is safe, durable, and enjoyable for years.
Using Low-Quality Plywood
One of the biggest mistakes is choosing thin or low-grade plywood to save money. Inferior plywood can crack, warp, or fail under repeated stress.
Always use ¾-inch cabinet-grade or high-quality plywood designed for structural applications.
Skipping Proper Framing
A strong frame is the backbone of your climbing wall. Poor framing can cause movement, instability, and serious safety risks.
Ensure all framing is securely fastened, level, and capable of supporting the intended load.
Installing Too Few T-Nuts
Many first-time builders only install enough T-nuts for their initial route.
Instead, install a dense grid of T-nuts across every plywood panel. This allows you to change climbing routes whenever you like without drilling additional holes later.
Ignoring Safety Mats
Never climb over concrete, tile, or hardwood flooring.
Always install thick crash pads or gym mats beneath the climbing wall to reduce the risk of injury from falls.
Overcrowding Climbing Holds
Placing too many holds close together makes routes confusing and limits movement.
Instead, create well-spaced routes with varying levels of difficulty.
Indoor vs. Outdoor Home Climbing Walls
Choosing between an indoor or outdoor climbing wall depends on your available space, climate, and maintenance preferences.
| Feature | Indoor Wall | Outdoor Wall |
|---|---|---|
| Weather Protection | Excellent | Requires weather-resistant materials |
| Maintenance | Low | Moderate to High |
| Year-Round Use | Yes | Depends on weather |
| Durability | Longer lifespan | May require more frequent repairs |
| Installation Cost | Moderate | Slightly higher |
Indoor Climbing Walls
Indoor walls are ideal for homeowners who want to climb throughout the year regardless of weather conditions.
Benefits include:
- Cleaner environment
- Longer-lasting materials
- Less maintenance
- Comfortable training year-round
- Better lighting and temperature control
Outdoor Climbing Walls
Outdoor walls create a more natural climbing experience and can become an attractive backyard feature.
However, they require:
- Exterior-grade plywood
- Weather-resistant paint
- Galvanized hardware
- Regular inspections for moisture damage
If you live in an area with frequent rain or snow, indoor walls generally provide better long-term value.
Choosing the Best Climbing Holds
The climbing holds you select determine the difficulty, comfort, and variety of your climbing experience.
Jug Holds
Jug holds are large, easy-to-grip holds that are perfect for beginners and children.
Crimp Holds
Crimps require strong finger strength and are commonly used on advanced routes.
Slopers
Slopers have rounded surfaces that demand excellent grip technique and body positioning.
Pinches
Pinch holds improve hand strength by requiring climbers to squeeze the hold between their fingers and thumb.
Foot Holds
Dedicated footholds encourage proper foot placement and improve climbing efficiency.
A balanced mix of hold types creates routes suitable for all skill levels.
Frequently Asked Questions
Is it cheaper to build your own climbing wall?
Yes. A DIY home climbing wall is generally much more affordable than purchasing a commercial climbing wall. While the initial investment ranges from approximately $500 to $1,500, it can save money over time by reducing or eliminating climbing gym membership fees.
What plywood is best for a climbing wall?
Most experienced builders recommend ¾-inch cabinet-grade plywood because it offers excellent strength, durability, and stability for climbing applications.
How tall should a home climbing wall be?
For beginners, a wall between 8 and 10 feet is often sufficient. More experienced climbers may prefer walls that are 12 feet or taller, provided proper safety measures are in place.
How many climbing holds do I need?
A small climbing wall typically uses 30–50 holds, while larger walls may require 75–150 holds depending on size and route variety.
Can children safely use a home climbing wall?
Yes, as long as the wall is designed appropriately for their age, equipped with quality safety mats, and used under adult supervision.
How often should I inspect my climbing wall?
Inspect the wall before each climbing session for loose holds or visible damage. Perform a thorough inspection of the frame, hardware, and plywood at least every six months.
Final Thoughts
Building your own home climbing wall is a rewarding DIY project that combines creativity, craftsmanship, and fitness. With thoughtful planning, quality materials, and a strong focus on safety, you can create a climbing space that serves your family for many years.
Whether your goal is to improve climbing skills, stay active, or provide an exciting feature for your home, a well-built climbing wall offers outstanding value. By using durable materials, installing plenty of T-nuts for flexible route setting, and maintaining the wall regularly, you’ll enjoy countless hours of safe and effective climbing right at home.
Internal Linking Suggestions
- Old Palm Golf Club Palm Beach Gardens, Florida
- Gothic Home Decor: Ultimate Guide to Elegant Dark Interior Desig
- Are Home Improvements Tax Deductible? Complete 2026 Guide
- How to Improve Home Security With Better Locks: A Complete Homeowner’s Guide






3 thoughts on “How to Build a Home Climbing Wall DIY Plans”